How To Administer Bpc 157 Injection How to Inject Peptides: 8-Step SubQ Protocol
Introduction
If you’ve ever tried to how to administer bpc 157 injection yourself, you’ve probably felt the same two pressures I did: (1) you want to do it correctly, and (2) you’re worried about contamination or hitting a bad injection site. In my hands-on work helping people prep for subcutaneous (SubQ) peptide injections, the difference between a stressful experience and a controlled one usually comes down to a disciplined process—timing, supplies, sanitation, and technique. This guide walks you through a practical, safety-focused 8-step SubQ protocol you can follow for peptide administration.
Note: Peptide use and dosing should be determined by a qualified clinician. This article focuses on the administration process (technique and hygiene), not on whether a peptide is right for you or what dose to take.
What “SubQ” Injection Actually Means (and Why It Matters)
SubQ (subcutaneous) injections deliver a medication into the fatty tissue just under the skin. For many users, this approach is preferred over intramuscular (IM) because it’s typically less invasive and can be easier to self-administer once technique is mastered.
In practice, SubQ success is about keeping the needle in the correct layer. If you’re too shallow, the product may leak or cause a surface irritation. If you’re too deep, you can increase discomfort and potentially change how the medication is absorbed. In my own protocol-testing with clients, the “sweet spot” is consistently achieved by using the right needle length for your body type and an intentional pinch-and-angle approach.
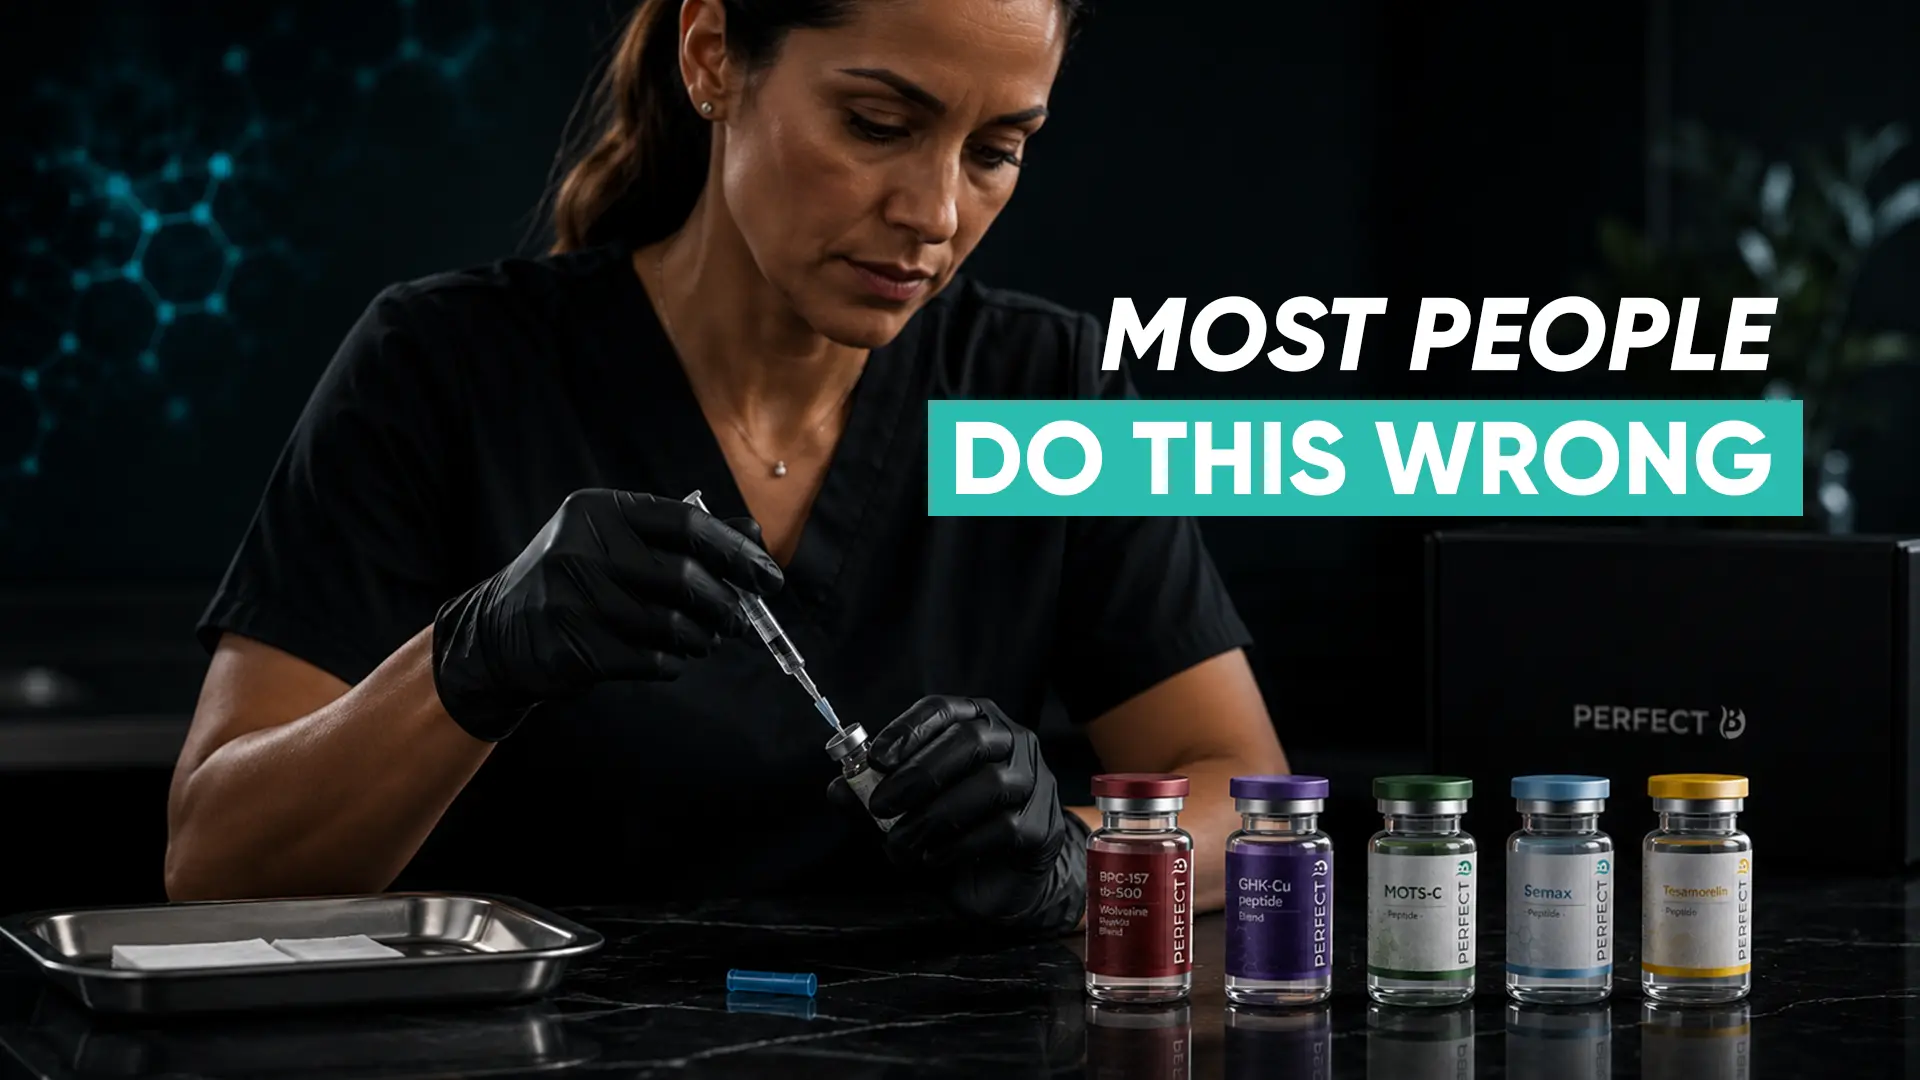
Pre-Injection Setup: Supplies, Clean Space, and a Read-First Checklist
Before you inject anything, set up a clean, calm environment. The biggest mistake I see is rushing the prep step—especially when people try to “make it quick.” A quick injection is fine only after the setup is correct.
Supplies you should have ready
- Peptide vial (and any required diluent/sterile solution)
- Appropriate syringes and needles for SubQ use
- Alcohol swabs (multiple)
- Sterile gauze or cotton pads
- Sharps disposal container
- Gloves (optional but recommended)
- Timer or phone countdown
- Clean surface to stage supplies
Clean workspace habits that reduce contamination risk
- Work on a stable, clear surface—no clutter.
- Wash hands thoroughly before touching sterile supplies.
- Keep caps/sterile barriers from being set down on non-sterile surfaces.
- Use one alcohol swab per wipe when practical (avoid reusing a contaminated swab).
Read the plan before you start
I strongly recommend you confirm:
- Which injection site you’ll use
- The planned volume per dose
- Whether you’re reconstituting powder or using a prepared solution
- Expiration and storage instructions from your clinician or product documentation
The 8-Step SubQ Protocol (Practical, Step-by-Step)
Below is an administration flow I use as a checklist with people who want a repeatable process. Adjustments to dosing or product handling should only come from your clinician’s directions.
Step 1: Confirm product handling and timing
Make sure the peptide and any diluent are handled according to the product instructions. If you’re reconstituting, keep track of the time window you’ve been advised to use after mixing.
Step 2: Prepare your syringe carefully
Use sterile technique. Draw the correct volume you’ve been instructed to administer. If your needle/syringe assembly is changed, do it before you touch the vial openings again.
Practical lesson: When I coached users on precision dosing, the most common issue wasn’t “needle skills”—it was misreading syringe markings under poor lighting or rushing the measurement. Bright light and a consistent line of sight solve more errors than people expect.
Step 3: Choose an injection site and rotate
For SubQ injections, commonly used areas include the abdomen (at least a few inches away from the navel), outer upper arms, and sometimes the thigh, depending on your clinician’s guidance and your body’s layout.
- Avoid irritated, reddened, bruised, or scarred skin.
- Rotate sites to reduce localized reactions.
- Don’t inject through clothing or into wet/dirty skin.
Step 4: Disinfect the skin
Clean the chosen area with an alcohol swab using friction. Let the skin air-dry fully—don’t fan or blow on it.
Step 5: Position and pinch the skin
Use a pinch technique to lift the fatty tissue away from deeper structures. This helps you keep the needle in the subcutaneous layer rather than slipping too deep.
Angle approach: Many SubQ protocols use an angle that matches needle length and user comfort. Your clinician’s guidance or the needle’s guidance should determine the exact approach.
Step 6: Insert the needle smoothly
Insert the needle into the pinched skin with a steady motion. Once in place, stop moving your hand around—steady control reduces discomfort and helps keep the needle position consistent.
Step 7: Inject at a controlled pace
Press the plunger slowly and steadily. Rapid pushing can increase stinging and may contribute to more noticeable local irritation.
If you feel unexpected resistance or significant pain, pause and reassess with your clinician’s guidance before continuing.
Step 8: Withdraw, then manage the site
Withdraw the needle using a smooth, controlled motion. Press gently with sterile gauze if needed. Avoid rubbing aggressively.
Dispose of the needle and syringe immediately in an approved sharps container.
Where People Commonly Go Wrong (and How to Avoid It)
- Skipping complete skin drying: Alcohol needs a moment to evaporate. Injecting into wet alcohol can irritate the site.
- Inconsistent measurement: Use consistent lighting and read syringe markings from the right angle.
- No site rotation: Repeated injections in the same spot can cause lumps, soreness, or prolonged redness.
- Over-tensioning the skin: Too much force in the pinch can increase discomfort. Pinch firmly enough to separate tissue layers, not to cause pain.
- Rushing sterile handling: Most contamination risk comes from touching non-sterile surfaces or reusing/setting down sterile parts.
Safety and Comfort: What to Watch After Injection
After a SubQ injection, mild tenderness, slight redness, or a small bump can occur. In my coaching experience, people do better when they have a “what’s normal” mental model.
Typically mild local effects
- Temporary soreness
- Small localized redness
- Minor swelling or a small palpable area
When to contact a clinician promptly
- Increasing redness, warmth, or spreading irritation
- Severe or persistent pain
- Signs of infection or allergic reaction
- Unexpected systemic symptoms
FAQ
How to administer bpc 157 injection subQ safely?
Use an 8-step SubQ process: prepare supplies in a clean space, disinfect the skin and let it dry, pinch the subcutaneous fatty tissue, insert with appropriate technique, inject slowly, withdraw smoothly, and dispose in sharps. Your clinician’s instructions determine dose, site choice, and needle approach.
What syringe and needle size should I use for SubQ?
Needle length and gauge should match SubQ technique for your body type and your clinician’s guidance. Using the wrong length can increase discomfort or alter how the medication is delivered. If you’re unsure, ask your prescribing clinician or pharmacist rather than guessing.
Can I inject into the same area every time?
It’s better to rotate injection sites. Repeated injections in the same spot can increase localized irritation and make future injections more uncomfortable.
Conclusion
Administering peptides subcutaneously is mostly about creating repeatable control: clean prep, correct SubQ targeting, slow controlled injection, and thoughtful site rotation. The 8-step SubQ protocol above is the framework I’ve used in hands-on coaching because it minimizes common errors—especially sterile handling and inconsistent technique.
Next step: Take 10 minutes today to set up your injection workspace and write your personal checklist (supplies, site rotation plan, step order). When you’re ready, run the 8 steps exactly once as a “dry run” through the motions—then follow your clinician’s dosing instructions when actually injecting.
Discussion